How to Fell a Tree
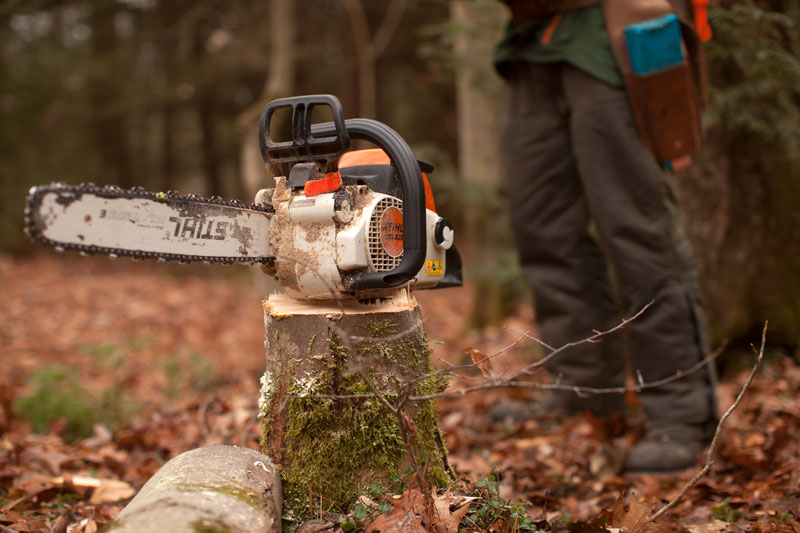 Things you’ll need:
- Helmet with ear and eye protection
- Chaps (preferably with Kevlar mesh lining, which is designed to bind up the chain in the unfortunate event you touch your leg with a spinning saw. Yeouch.)
- Steel-toed boots and chainsaw gloves (padded with Kevlar) are also a good idea.
- Supervision by someone who has done this before. Nothing you’ll read here or anywhere can replace the guidance of an experienced logger. You can kill yourself an astonishing number of ways with a chainsaw, gravity and even a small tree.
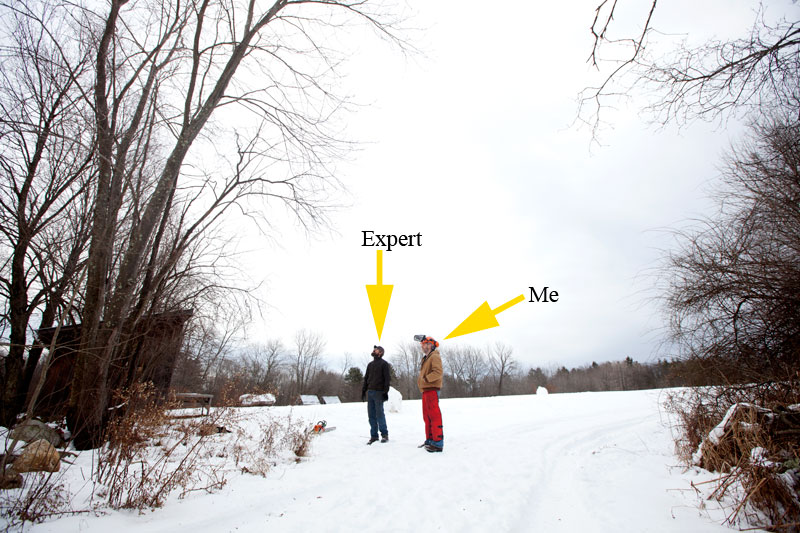 Step 1: Assess the area for danger. Look for overhead hazards such as power lines and dead or hanging limbs. Is the canopy of the tree you plan to cut down entangled with another tree? Pay attention to how hard the wind is blowing and its direction – this can effect the fall. Also, be aware that the sheer impact of a downed tree can cause other trees to come crashing down on your soft head. It pays to be a little paranoid here.
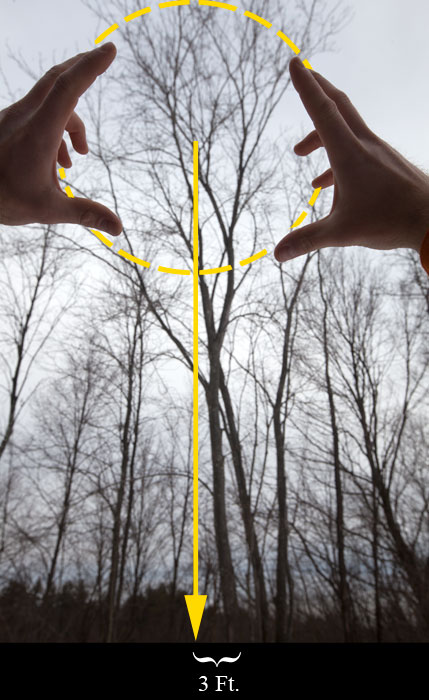
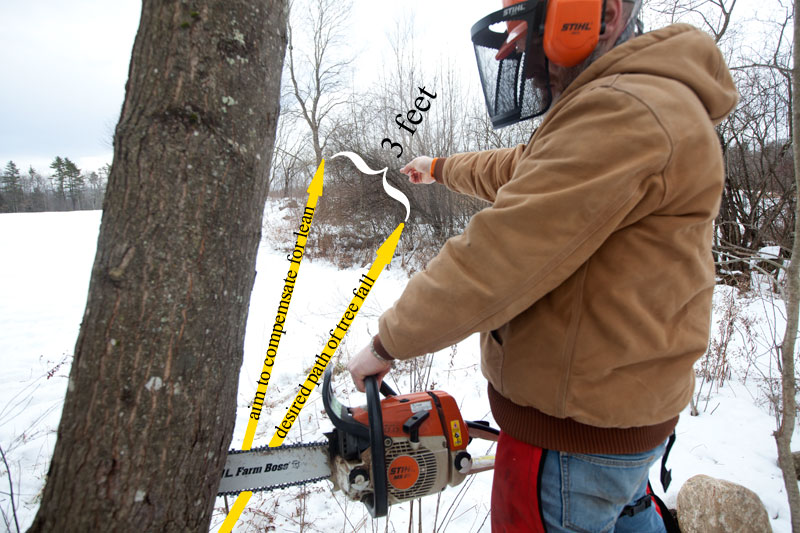
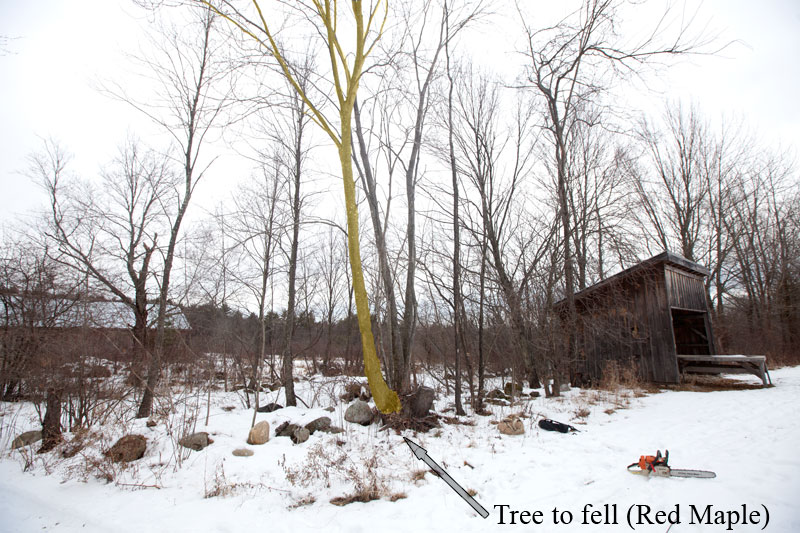 Step 2: Assess the tree for lean.Standing in the spot where you’d like the tree to land, hold up your hands to encircle the canopy of the tree. From there, draw an imaginary line straight down from the center of your hands – this will tell you the lean of the canopy. If that line falls three feet to the left of the tree’s base (as it did in my case) this indicates a three-foot side lean, for which you’ll have to compensate when making your notch cut. Walk 90-degrees to the left or right and repeat this process to assess the front-to-back lean of the tree. If at all possible, plan to let the tree fall in the direction it is leaning and let gravity work for you.
 Step 3: Make your notch cut.The notch cut consists of 2 intersecting cuts that converge perpendicular to where you want the tree to fall. The width of the cut should be 80 percent of the tree’s DBH (diameter at breast height). In my case, my tree was about 10 inches wide at my chest so the optimal length for my notch was 8 inches. Also since my tree was leaning three feet to the left (looking at the tree) I wanted to overcompensate and aim to land my tree three feet in the opposite direction.
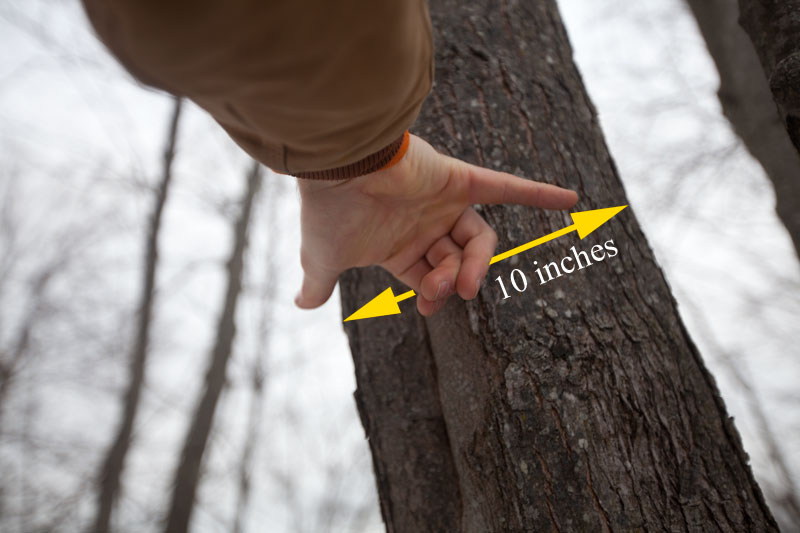
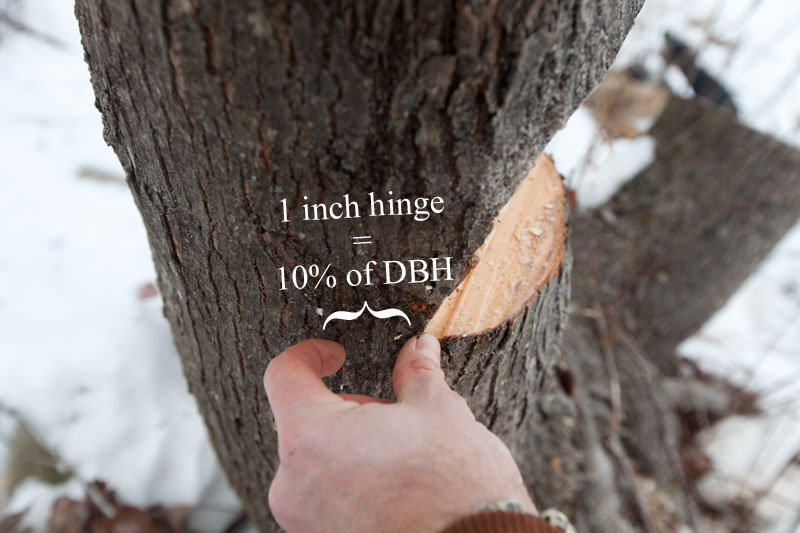
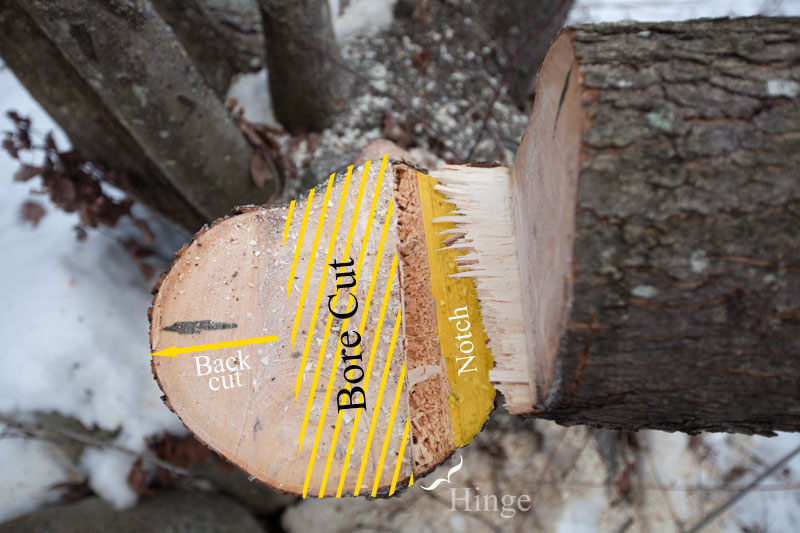
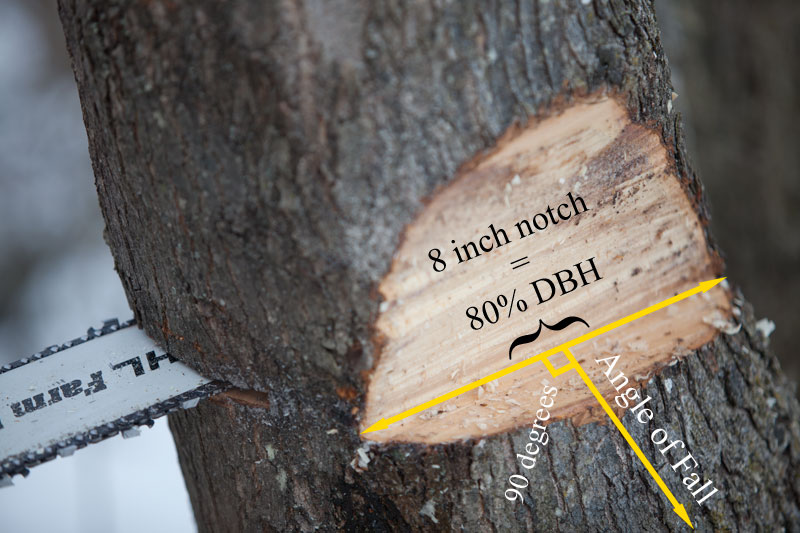 Step 4: Making your hinge / Bore cutIn this step you’ll take your saw and plunge the bar straight through the trunk of the tree leaving a hinge. This is perhaps the most important step. Once all the cuts are made, the hinge will be the only thing that controls the tree’s fall to the ground. At this point, many people just cut toward the notch from the back of the tree until the tree starts falling. But this is dangerous: the tree could start to fall at any point, creating an uneven hinge – leading to an uncontrolled fall, or unpredictable stresses and fractures in the tree itself.Before the tree starts falling, it’s best to create as perfect a hinge as possible. You essentially skewer the tree with your saw parallel to your notch cut. With your saw at full throttle, plunge the bar of your saw straight through the trunk of the tree, carefully straightening your angle of attack to minimize kickback and to avoid cutting through your hinge. Once your saw pokes through the opposite side, take a moment to assess your hinge and adjust as necessary so that it is 10% of the DBH. In my case, the tree was 10 inches DBH, so I aimed for a 1-inch hinge. Take care make your plunge cut level with the notch cut.
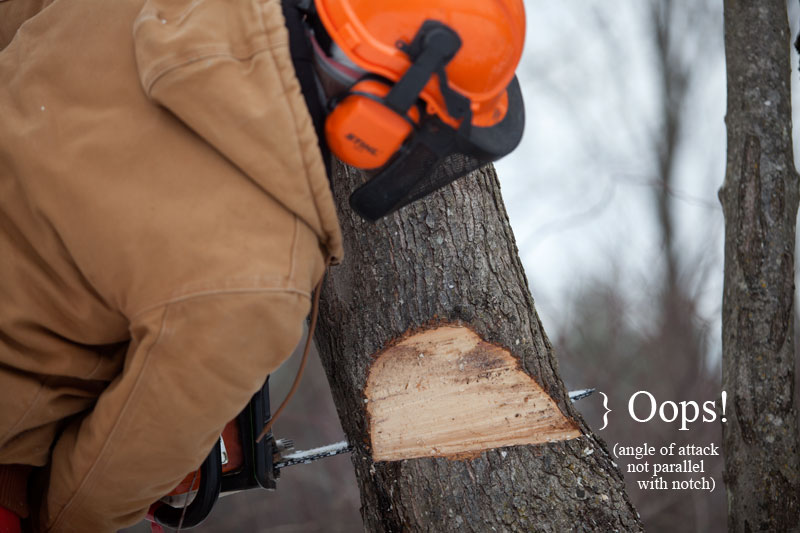 Step 5: Back cut and escape planFirst, figure out which way you’ll head once your saw is free of the tree – ideally at a 70-degree angle away from the direction of the tree’s fall. Once you feel good about your hinge, rev your saw to full throttle and pull your saw away from the hinge and through the back of the tree. Then put on your chain brake and make your escape.
 Once you’re done your stump will hopefully look something like this.
 It may take a while until you can drop the tree exactly where you want or for your stumps to be textbook. But if the tree is on the ground and you're still standing in the end, it's a success.The rest of the week's photo can be found HERE. Happy and safe cutting!
